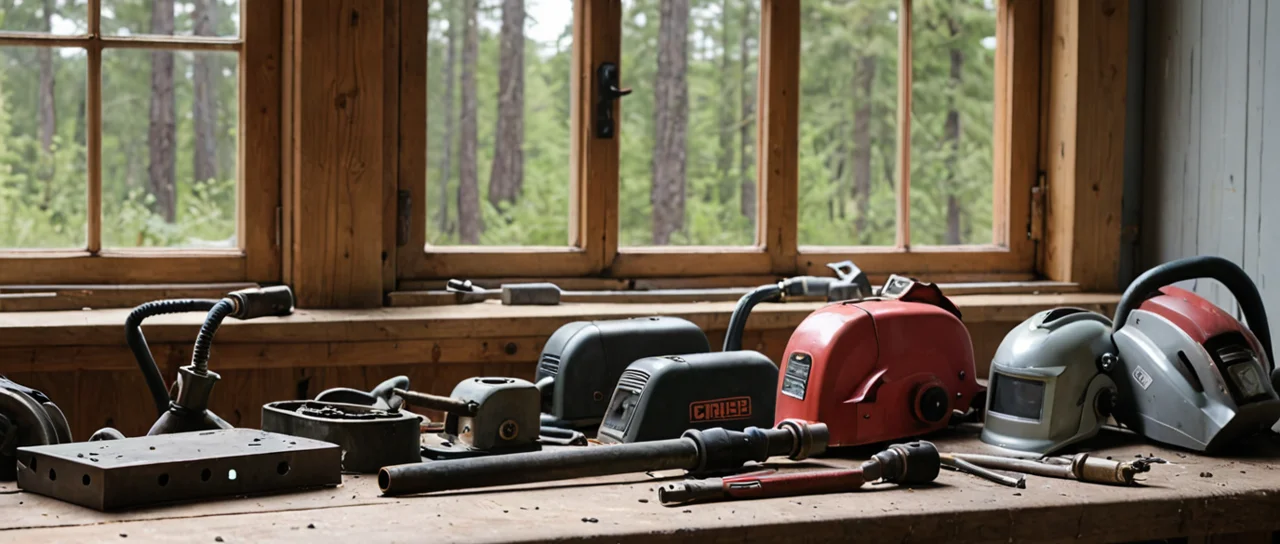
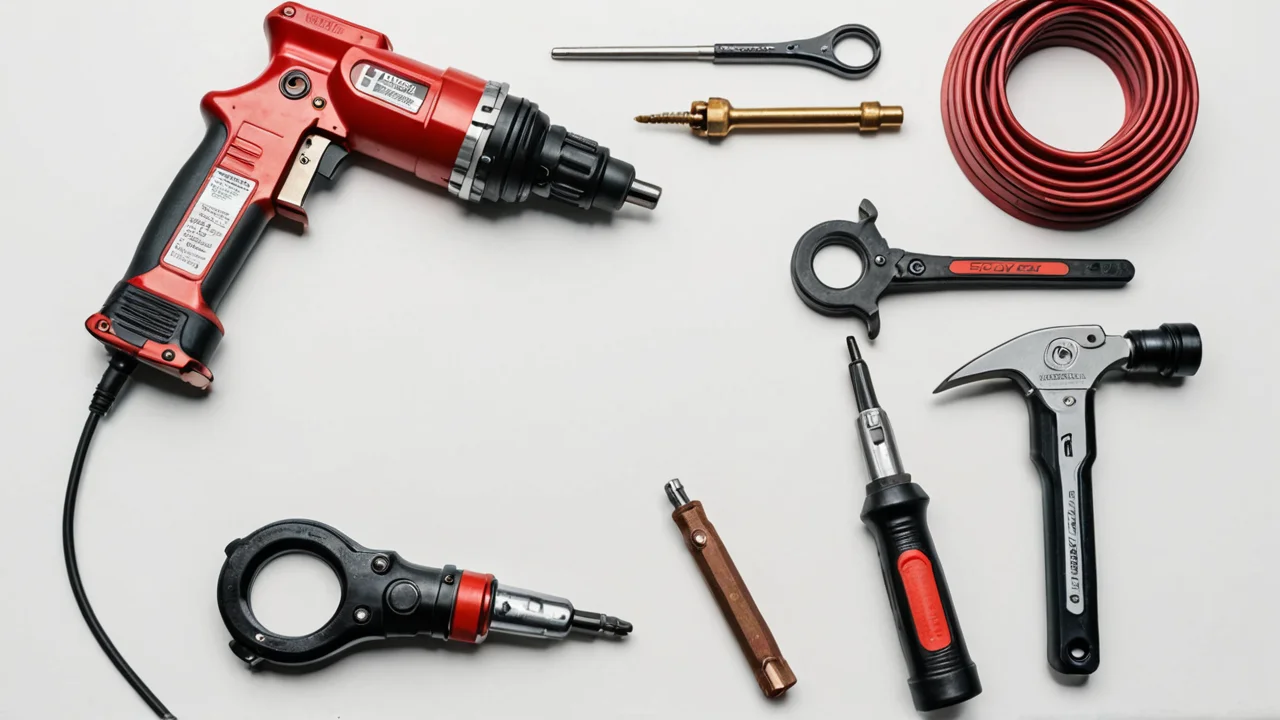
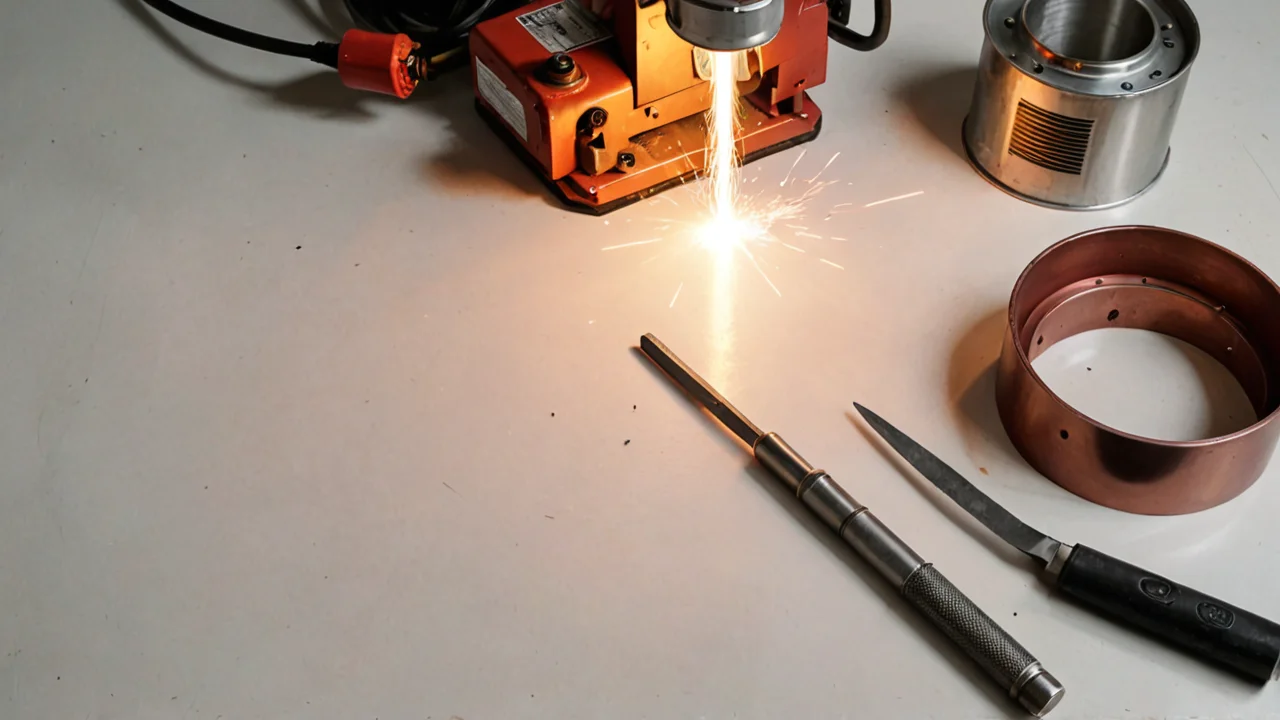
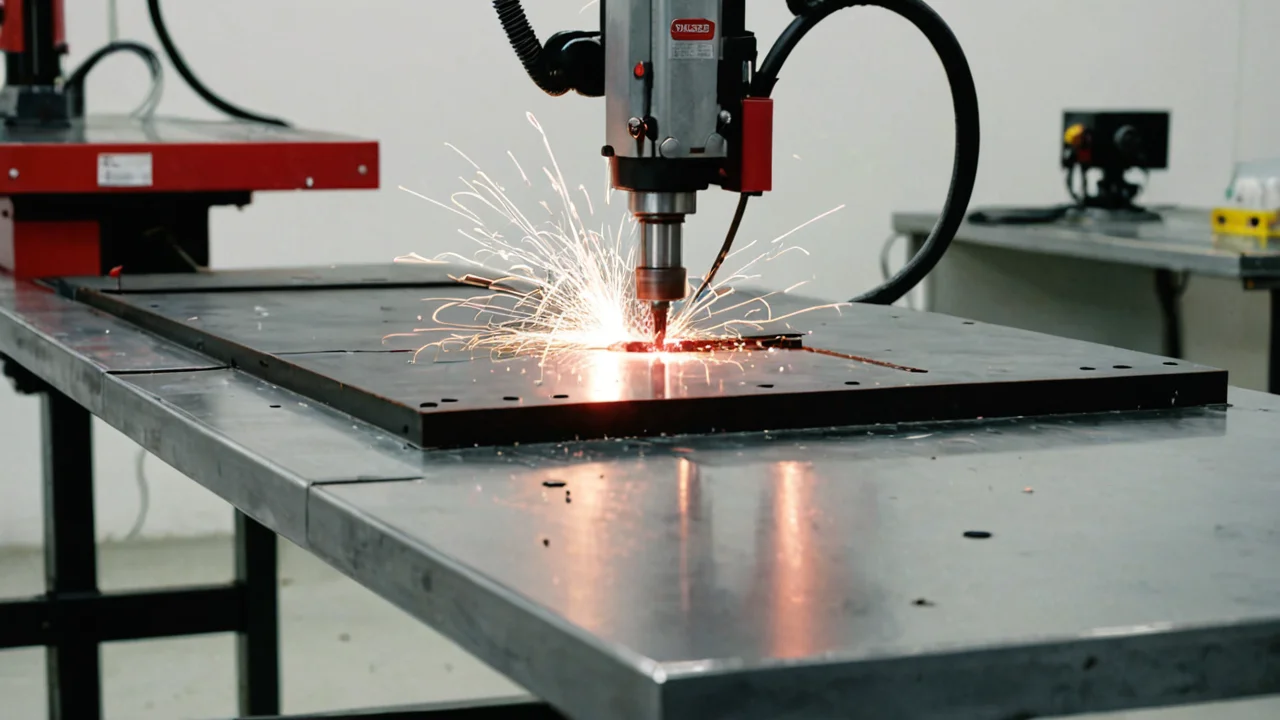
Set the machine up around the process, not the other way around: pick the power source and torch for the metal and thickness you actually weld, then size the gas supply, the circuit, and the consumables to that machine. Most failures in TIG and plasma setups are supply problems — wrong gas flow, a compressor that can't hold pressure, a circuit that browns out on start — not operator error. Get the supply chain right before you spend money on technique.
Choosing the power source decides everything downstream
Buy the machine that matches your process first, because the machine sets your gas, your circuit, and your torch. A TIG (GTAW) power source uses a nonconsumable tungsten electrode and an inert shielding gas — typically argon — to protect the molten pool from oxygen, nitrogen, and water vapor, which cause porosity and defects. That single definition tells you what the machine must include: a way to control gas flow, a way to start an arc without contaminating the tungsten, and enough duty cycle to finish the joint. If you plan to weld aluminum, add AC output to the requirement list; DC-only machines will not do it cleanly.
The arc-start method is where budget machines cut corners, and it matters. Scratch-start touches the tungsten to the work. Lift TIG is a controlled version: the tungsten is briefly touched to the workpiece at low open-circuit voltage and then lifted to initiate the arc, which reduces the risk of high-frequency electromagnetic interference with nearby electronics. High-frequency start is the most convenient but puts that interference back on the table — it can upset shop radios, cheap controllers, and anything with a long unshielded lead nearby. If you weld near electronics or in a shared building, lift TIG is the quieter choice, and it is worth paying for over scratch-start because it spares your tungsten and your nerves.
The cost of choosing wrong is not just money. A machine without a gas solenoid forces you to run the torch valve by hand. A machine with no foot pedal or torch amperage control forces you to set current and commit. Both are workable, but they push adjustment onto your hands at the moment you should be watching the puddle. Decide now whether you need those controls or can live without them, because they are rarely retrofittable at reasonable cost.
Shielding gas: flow, purity, and the regulator that holds it
For TIG with argon, the typical shielding gas flow rate range is 10–35 cubic feet per hour (cfh). That is a range, not a setting — start low and raise it until the puddle stays bright and the tungsten stays clean, then back off. Too little flow and you get porosity, a grey or black puddle, and a tungsten that balls up and discolours. Too much flow does not improve shielding; it creates turbulence at the nozzle that pulls room air into the stream, and it empties your cylinder faster. On a machine with a specific published recommendation, follow it: for TIG welding on the LNT 25 power source, the recommended argon flow rate range is 10–15 liters per minute (L/min).
Use pure argon as the baseline. It is supplied as high-purity welding-grade argon, around 99.99% or higher, and that purity is what keeps the arc stable and the weld free of contamination. Argon-helium mixes are the alternative when you want more heat input into thick aluminum or copper, but helium costs more, is harder to source, and changes how the arc behaves — hotter, narrower, less forgiving of a wandering hand. Most people should start on 100% argon and only move to a mix when they have a specific thickness problem argon cannot solve.
The regulator is the part people under-buy. A cheap regulator with a sticky seat will not hold a low flow rate steadily, and you will chase porosity that is actually a gauge problem. Buy a two-stage or at least a well-made single-stage regulator with a clear flow tube, and leak-test the whole chain — cylinder valve, regulator, hose, torch — with soapy water before you weld. A slow leak at the regulator inlet shows up as an empty cylinder and a bill, not as a bad weld, which makes it easy to miss.
Plasma cutting needs air and voltage, not just a torch
A plasma cutter is a different supply problem from TIG, and it fails in different ways. The arc itself needs serious voltage: the common DC voltage range required to start and maintain a plasma cutting arc is 200–400 volts DC. That is internal to the machine, but it explains why plasma units are heavier, why they care about input power quality, and why you should not treat one like a small inverter welder.
The compressed air side is where most home setups fall short. For a 40 A air plasma cutter, the required compressed air supply pressure range is 80–120 pounds per square inch (PSI), and at that pressure the approximate air flow rate is 5.3 cubic feet per minute (cfm). Read those two numbers against your compressor. A small pancake or hot-dog compressor will hit the pressure on paper but cannot sustain the flow, so the pressure sags the moment you pull the trigger, the cut quality drops, and the consumables wear fast. You need a compressor that holds the pressure while the cutter is running, plus a moisture trap and filter — water in the air stream destroys electrodes and nozzles and gives you a ragged kerf.
This is the honest cost of plasma: the cutter is the cheap part. A compressor sized to hold pressure at the required flow, a dryer or at least a good filter-regulator, and the consumables (electrodes, nozzles, swirl rings) add up. If you cut thin sheet occasionally, a good angle grinder and a nibbler may be the smarter buy. If you cut plate or want clean curves, build the air system properly or the cutter will never perform to its rating. Check the machine's rated cut thickness against what you actually cut, and budget consumables as a running cost — they are not optional.
The workbench, the circuit, and the safety chain
Plan the workspace before the first bead, because TIG and plasma both punish a bad bench. You need a steel table you can clamp to and ground through, enough room to lay a straight edge along a cut, and clear space around the work so you can move the torch without dragging the lead across the joint. TIG in particular wants a stable, grounded surface and a place to set the torch down without cracking the cup.
The circuit is the quiet killer. Both processes draw hard on start, and a circuit that is marginal will brown out, trip breakers, or drop the arc mid-weld. Match the machine's input requirements to a dedicated circuit with the correct breaker and conductor size, and do not share it with a compressor or a heater that cycles on while you weld. If you are in a garage or rented space, confirm the service can carry the load before you buy the machine — a power source you cannot feed is a very expensive shelf ornament.
Safety is a sequence, not a checklist you tick once. Eye and face protection rated for the process, because plasma throws bright ultraviolet and sparks in a wide cone. Fume extraction or open ventilation, because both processes produce fumes and ozone. Fire watch and a clear floor, because sparks travel. Gloves and dry clothing for TIG, and insulated holders and leads in good condition for both. The order matters: set up the ventilation and fire safety before you strike an arc, not after something smoulders. A cheap welding jacket and a proper helmet are not where you save money.
Consumables, spares, and what actually wears out
Stock the parts that fail first, in the sizes you actually use, before you need them. For TIG that means tungsten in the diameter your machine and work call for, ceramic cups in a couple of sizes, collets and collet bodies, and a torch that matches your amperage. A tungsten that has been dipped into the puddle or contaminated is not usable for critical work — you break it off, regrind it, and carry on, which means you go through tungsten faster than beginners expect. Grind tungsten lengthwise, not across, and keep a dedicated grinding wheel so you do not embed steel grit in it.
For plasma, the wear parts are electrodes and nozzles, and they wear faster than most people budget for — every pierce and every long cut consumes them, and dragging the torch on the work or cutting with wet air accelerates it. Buy spares in packs, keep a log of when you change them, and replace as a set rather than one at a time, because a worn electrode with a fresh nozzle cuts badly and wastes the new part. For both processes, keep the torch lead and ground clamp in good condition; a frayed lead or a corroded ground is a fault that looks like a technique problem.
The trade-off here is inventory versus cash. Holding spares ties up money in parts that sit on a shelf, but running out mid-project costs you a drive to the supplier and a ruined afternoon. For a hobbyist, a modest stock of the most-used consumables is enough. For anyone taking paid work, keeping a full set of spares on hand is cheaper than a missed deadline.
Sequencing the build so you only buy once
Buy in this order, and each step tells you what the next one needs. First, the power source, chosen for the metal, thickness, and process — TIG with the start method and AC/DC capability you need, or a plasma cutter rated for your thickness. Second, the gas or air supply sized to that machine: a regulator and cylinder for TIG at a flow within the argon range, or a compressor and filter that holds pressure and flow for plasma. Third, the circuit and bench that can feed and support the machine. Fourth, the torch and consumables in the sizes your work calls for. Fifth, the safety gear and extraction. Doing it in this order means each purchase is constrained by a real requirement rather than a guess, and you avoid the classic mistake of buying a torch that does not fit the machine or a compressor that cannot feed the cutter.
The cost of getting the sequence wrong is repeated spending. A machine bought before the circuit is checked may need a return. A compressor bought before the cutter's air demand is known may be undersized. A regulator bought before the flow range is understood may not hold a low setting. None of these are fatal, but each one is money spent twice. The honest trade-off is time: working out the supply requirements before you buy takes an evening of reading specifications and measuring your space, and that evening saves more than it costs.
Where this approach is the wrong choice: if you are welding one small project on thin steel, a full TIG setup with a foot pedal, AC output, and a large cylinder is overkill, and a basic DC machine with scratch or lift start will do the job for far less. If you cut sheet metal occasionally, a plasma cutter plus a compressor sized to its air demand may cost more than the work justifies, and hand tools will serve. Match the setup to the work you actually do, not the work you imagine doing, and buy the machine that makes the next year of projects possible rather than the one that covers every case at once.
Duty cycle is a supply requirement, not a spec-sheet boast
Read the duty cycle at your actual welding amperage, not at the number the brochure leads with, and treat it as a circuit and bench constraint. A machine rated for a high duty cycle at low current will still derate as you climb toward its top end, and a marginal circuit makes that worse: input voltage sag on start pushes the machine toward its thermal limit sooner, so you get a fan that never quits and a thermal trip in the middle of a joint. Size the circuit for the top amperage you genuinely need, and plan your sequence around the machine's real cycle — long runs on thick aluminum are where a hobby-rated box quits. If your work is short beads with setup between them, a lower duty cycle costs you nothing.
Polarity, ground placement, and the lead you never check
Set polarity before anything else, because it changes the torch, the gas lens, and the tungsten in one decision. DCEN for steel and stainless, AC for aluminum on a machine that offers it — and on a lift-start machine, confirm the work lead is on the right terminal before you strike, since swapping it is the fastest way to ball a tungsten you just ground. Clamp the ground to clean, bare metal close to the weld, not to painted stock or the far end of the table; a ground that travels through a rusty joint shows up as a wandering arc you will blame on gas flow. And check the torch lead for cracks at the connector, where it flexes every time you set the torch down — a small leak there pulls air into the argon stream and gives you porosity that no regulator adjustment fixes.